Welcome to our comprehensive guide on painting barbells for your home gym.
This article is designed to provide you with a step-by-step process on how to give your barbells a fresh, personalized look.
We’ll delve into the benefits of painting your barbells, the preparation process, and the best types of paint to use.
We’ll also discuss important considerations such as durability, color options, and the choice between a gloss and matte finish.
Additionally, we’ll guide you through the painting technique, how to paint weight plates, and how to maintain the finish of your painted barbell.
Let’s get started!
Table Of Contents
Benefits of Painting Barbells
Painting your barbells can breathe new life into your workout routine.
It not only adds a pop of color and personal flair to your gym equipment but also extends the lifespan of your barbells.
A fresh coat of paint can give your barbells a rejuvenated look, making your home gym more inviting and motivating.
Moreover, it can also provide a layer of protection against rust and corrosion, especially if you use rust-proof, waterproof paint that can withstand extreme temperatures.
This can be particularly beneficial if you live in a humid environment where your fitness equipment is more prone to rusting.
Preparing the Barbell Surface
Before we dive into the actual painting process, it’s crucial to properly prepare the barbell surface.
This step is key to ensuring the paint adheres well and lasts longer.
In this section, we’ll guide you through the necessary steps of cleaning, sanding, and priming your barbell to create the perfect canvas for your painting project.
Cleaning
Before you start painting, it’s crucial to clean your barbell thoroughly. This involves removing any dirt, grime, or rust that could affect the paint’s adhesion.
You can use a white vinegar cleaning solution with 3 parts water to 1 part vinegar to dissolve dirt and grime on your barbells.
After heavily spraying the weights with white vinegar, scrub them vigorously to remove dirt and rust, then rinse off or dip in a bucket full of water to remove the vinegar.
Once the weights are dry, you can proceed to the next step.
For more detailed cleaning tips, check out this guide on Cleaning Barbells.
Sanding
The next step is to sand the surface of the barbell. This will help the primer and paint adhere better.
Use sandpaper or a sanding block to rough up the surface. After sanding, wipe down the barbell with a clean cloth to remove any dust or debris.
Primer (Optional)
Applying a coat of primer to the barbell can help the new coating adhere properly.
It provides an even surface for the paint to stick to, ensuring a smoother and more uniform finish.
However, whether you need to use a primer or not depends on the type of paint you’re using.
Some paints come with a built-in primer, so you might not need an additional primer in such cases.
Paint Selection
When painting a barbell, it’s important to use a high-quality spray paint that is designed specifically for metal surfaces.
Brands like Rustoleum and Krylon offer spray paints that are suitable for painting barbells.
These paints are durable, scratch-resistant, and able to withstand heavy use.
They come in a variety of colors, allowing you to customize your barbell to match your personal style or workout space.
Considerations
When painting your barbell, there are several factors to consider to ensure you achieve the best results.
These considerations go beyond just selecting the right paint and involve thinking about the durability of the paint, the color options available, and the type of finish you prefer.
In this section, we’ll delve into these considerations in detail to help you make informed decisions throughout your barbell painting project.
Durability
The durability of the paint is a crucial factor to consider. You want a paint that can withstand the wear and tear of regular use without chipping or rubbing off.
Look for paints that are known for their durability and can be used on a variety of surfaces, including metal weights.
Color Options
The color of the paint is another important consideration.
Whether you’re looking to match your gym’s color scheme or simply want to add some personal flair, choose a color that reflects your personal style and workout space.
Gloss vs. Matte Finish
The finish of the paint (glossy or matte) can also affect the look and feel of your barbell.
Glossy finishes tend to be more durable and easier to clean, but they can also be more slippery, which might not be ideal for a barbell.
Matte finishes, on the other hand, can provide a better grip but might not be as durable or easy to clean as glossy finishes.
How To Paint Barbell
Painting a barbell involves a series of steps that require patience and attention to detail. Here’s a detailed guide on how to paint your barbell:
Cover Knurling
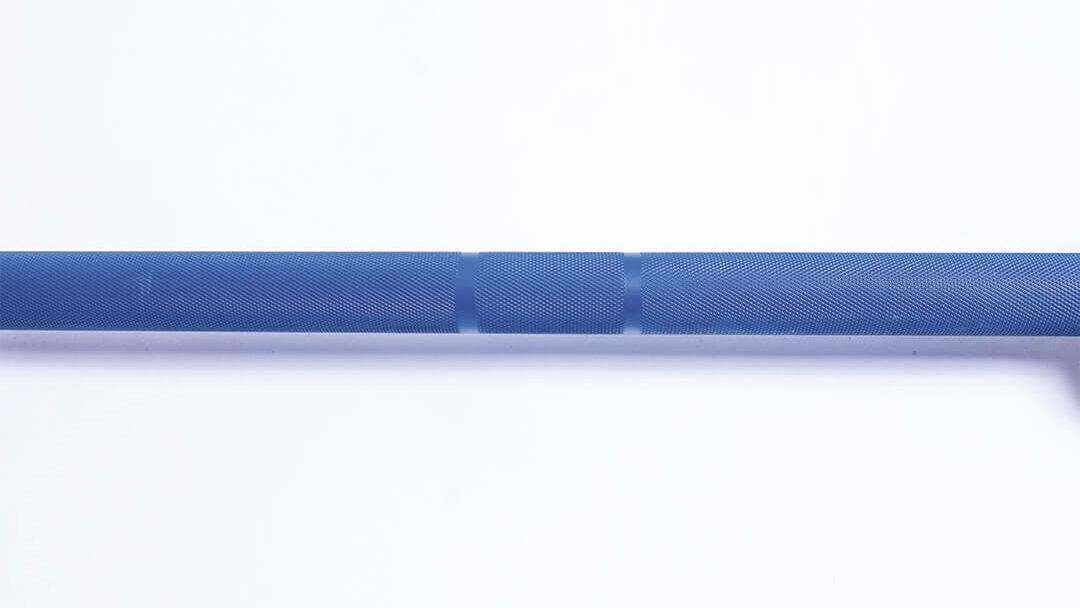
The knurling on a barbell is the textured part where you grip the bar. It’s crucial to protect this area during the painting process to maintain its texture and grip.
You can cover the knurling with painter’s tape or masking tape. Make sure the tape is firmly pressed down to prevent any paint from seeping underneath.
Paint Shaft
Once the knurling is covered, you can start painting the shaft of the barbell.
Hold the spray can about 6-8 inches away from the surface and use short, even strokes to apply an even coat of paint.
Make sure to rotate the barbell as you paint to cover all sides evenly.
If you’re using a paintbrush, apply the paint in the same direction as the grain of the metal for a smoother finish.
Paint The Knurling (Or Don’t)
This step is optional and depends on your personal preference. Some people prefer to leave the knurling unpainted to maintain its original texture and grip.
However, if you choose to paint the knurling, make sure to use a thin layer of paint to prevent the paint from filling in the grooves and reducing the grip.
Let It Dry
After painting, let the barbell dry for a few hours. The drying time can vary depending on the type of paint you’re using, so it’s best to check the instructions on the paint can.
Make sure the barbell is completely dry before moving on to the next step.
Re-Oil The Bar
Once the paint is completely dry, it’s time to re-oil the bar. This step is crucial for maintaining the longevity and performance of your barbell.
Use a light machine oil or WD-40 and apply a thin layer on the bar with a clean cloth. Wipe off any excess oil after application.
Let Dry For 24 Hours
After re-oiling the bar, let it dry for at least 24 hours before using it. This allows the oil to penetrate the metal and provides a protective layer against rust and corrosion.
By following these steps, you can successfully paint your barbell and give it a fresh, new look. Remember, patience is key in this process.
Don’t rush the drying times and make sure each step is done thoroughly for the best results.
Painting Weight Plates
The process of painting weight plates is similar to that of painting the barbell.
Start by cleaning the plates with soap and water, and let them dry completely. Before painting, make sure to remove any rust or old paint by using a wire brush.
After cleaning and sanding, apply a coat of primer (if necessary), followed by your chosen paint.
Let your painted weight plates dry for at least 24 hours just like your bars before using them.
Maintaining the Finish
To maintain the finish of your painted barbell, it’s important to clean and oil it regularly.
Use a light machine oil or WD-40 and apply a thin layer on the bar with a clean cloth. Wipe off any excess oil after application.
It’s recommended to oil your barbell once a month or after each use if you live in a humid environment.
Remember to always keep your bar clean and dry after use to avoid moisture buildup.
For more maintenance tips, check out this guide on Barbell Maintenance.
Frequently Asked Questions
Conclusion
Painting a barbell is a great way to give it a new look and extend its lifespan.
By following the steps outlined in this guide, you can easily transform your old, worn-out barbell into a sleek and stylish piece of equipment.
Whether you’re looking to match your gym’s color scheme or simply want to add some personal flair, painting your barbell can be a fun and rewarding project.
With the right tools and a little bit of patience, you can achieve professional-looking results that will impress everyone at the gym.
Let me know if this guide helped you out in the comment section below, right now!
Until next time,
-Dante