Stepping into the squat rack and puzzled about which direction to face?
Here’s a quick tip: always face the j-hooks or j-cups.
It sounds straightforward, but this simple guideline is essential for both safety and proper form.
Ready to delve deeper?
Let’s get started!
On This Page
Key Takeaways
| Key Points | Brief Summary |
|---|---|
| Ideal Direction in the Squat Rack | Based on the type of rack and personal preference. |
| Varieties of Squat Racks | Multiple types including standard squat racks, cages, half racks, squat stands, and wall-mounted racks. |
| Benefits of Facing Forward | Simplifies the process of re-racking the bar; minimizes risks. |
| Advantages of Not Using a Mirror | Enhances internal cues, reduces external distractions, and prioritizes form. |
| Safety Protocols | Use of safeties or spotter arms, ensuring correct J-hook height, and knowing one’s limits during lifts. |
Why Does It Matter?
Your orientation in the squat rack isn’t just about aesthetics or ease; it’s foundational to your lifting technique, mental focus, and overall safety.
Using mirrors might seem beneficial for form-checks, but they can often lure you into a trap of over-reliance and distraction.
The squat isn’t just a physical act; it’s an intimate conversation between your mind and muscles. And for that, you need undivided attention.
The Big Question: Mirror or Not?
Gyms love their mirrored walls, don’t they? It often leaves you pondering: should you squat facing the mirror or away from it?
While mirrors offer a real-time form check, they also invite potential distractions.
Who hasn’t been guilty of sneaking a peek at other gym-goers instead of zeroing in on their squat depth? Exactly.
Different Types of Racks and The Optimal Direction You Should Face
Navigating gym equipment can be a maze. Among these, squat racks often raise eyebrows. Let’s simplify the main types and their best practices:
- Standard Squat Rack:
- Description: Common in gyms, typically against a wall.
- Direction: Face the j-hooks for easy bar re-racking.
- Cage (Power Rack):
- Description: Enclosed space with side supports.
- Direction: Up to you. Make sure to fave the j-hooks and avoid being distracted by mirrors.
- Half Rack:
- Description: A more open design than the power rack, usually with overhead bars for pull-ups or other exercises.
- Optimal Direction: Face forward towards the j-hooks or j-cups to maintain a clear line of sight and safe re-racking.
- Squat Stands:
- Description: The most minimalistic design, squat stands consist of two separate uprights without any side or back support.
- Optimal Direction: Always face the stands directly. The simpler design requires careful attention to bar placement and balance.
- Wall-Mounted Racks:
- Description: Attached directly to the wall, these racks can be folded away when not in use, saving space.
- Optimal Direction: As they’re attached to the wall, you’ll need to face outwards, towards the room.
Each type of rack has its unique features and benefits, but the consistent theme is ensuring safety and optimal form.
The direction you face plays a crucial role in both. Remember, it’s not just about convenience; it’s about maximizing your workout while minimizing risks.
So, Which Direction Should You Really Face?
In a standard squat rack, face forward. It’s efficient and safe. In cages, choose what feels right, prioritizing form and safety.
Always align your direction with safety and workout efficiency.
Approaching the Squat Bar
You’ve got your direction sorted out, but how you approach the squat bar is equally important.
After all, you don’t just walk up and start lifting, right? Well, maybe some of you do, but let’s talk strategy here.
Getting Ready: The Setup
First impressions matter, even with squat bars. Kick things off by adjusting your bar height to just below chest level. This isn’t just about comfort.
It’s about setting the scene for a killer squat session. Nail this, and you’re already ahead of the game.
The First Contact: Hand Placement
Your hand placement on the bar is a huge factor that many people overlook. A balanced grip will make it easier to control the bar. Sounds simple, right?
But the type of barbell can influence this. Dive into different types of barbells to get a better grip, literally and figuratively.
Foot Positioning: Where You Stand Counts
Your feet aren’t just there to keep you upright; they’re the powerhouses of your squat. While the go-to is usually feet shoulder-width apart, this isn’t one size fits all.
It’s about depth, balance, and what feels right for you. If you’re new to the squat world, experiment a bit. You’ll find your groove.
Facing the Hooks
Ah, the j-hooks, those seemingly insignificant pieces of metal that hold your bar when you’re not lifting. Little did you know, these guys are your silent guardians in the squat rack.
Why J-Hooks Matter
Think of J-hooks (or j-cups) as the unsung heroes of your squat rack. Their job? Holding that barbell just right, so you start your squat on-point.
Get the placement wrong, and you’re risking bad form, possible strains, and a less effective workout.
These bad boys aren’t just about convenience; they’re about keeping your lifting game strong and safe.
Proper Hook Placement
It’s simple. Set the hooks too high, and you’re wrestling the bar off. Too low? Good luck safely catching a failed lift.
You want that sweet spot where lifting and re-racking feels natural.
The Role of Safeties
While j-hooks get the barbell ready for action, safeties are your actual bodyguards. They’re there to catch a bar gone rogue.
Adjust them right, and you’ve got a safety net. And trust me, in the world of lifting, that safety net isn’t just a “nice-to-have,” it’s a game-changer.
(Note: Insert DALL·E 3 image prompt here for a photo-realistic image of a squat rack focusing on hooks and safety bars.)
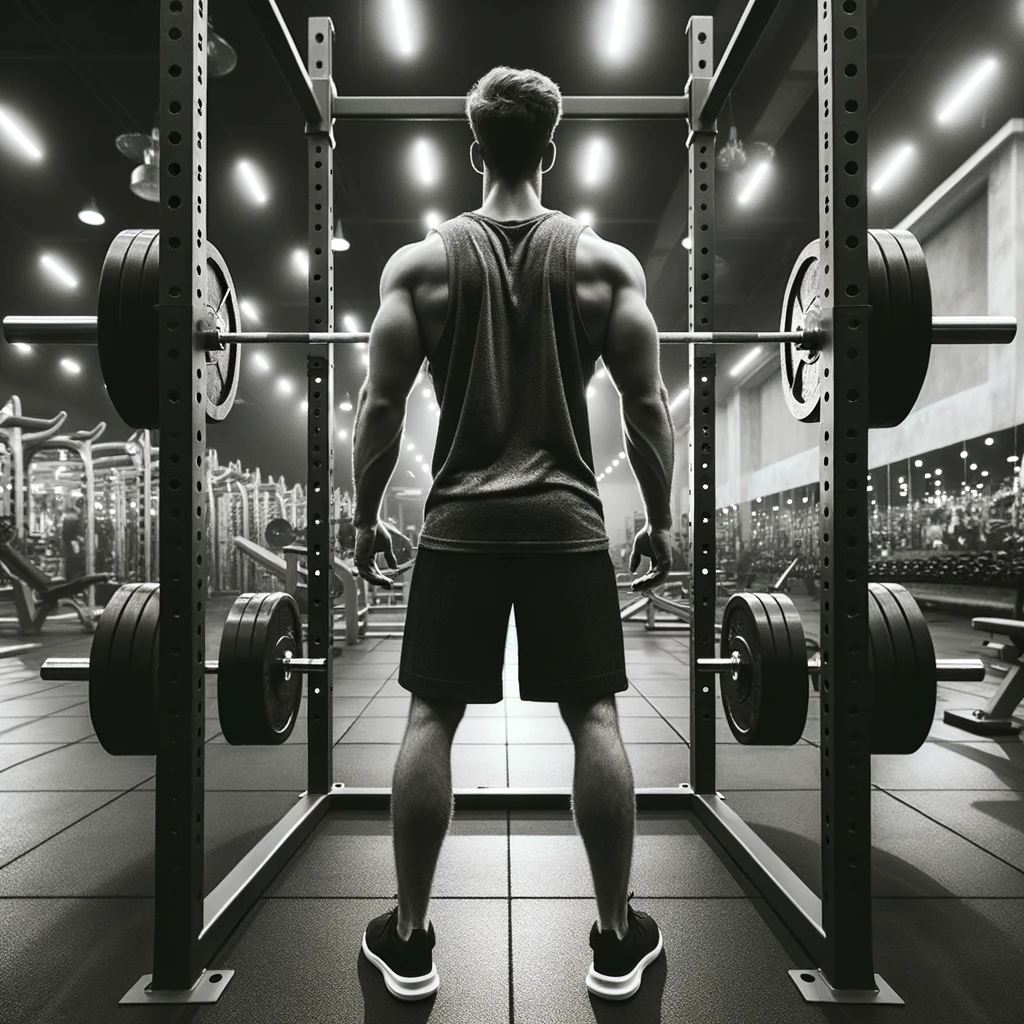
Risks of Backing into the Rack
Backing into the rack might seem like no big deal, but let me tell you, it can be risky business. Here’s why.
The Blind Barbell Re-Rack Challenge
Ever tried to rack a bar behind you without looking?
It’s like playing a game of “pin the tail on the donkey,” except the tail is a heavy barbell, and the donkey is a piece of gym equipment that doesn’t appreciate being bumped into.
You risk not aligning the bar correctly on the hooks, and that could lead to some precarious situations.
The Balance Factor
Backing into the rack can also mess with your balance.
You’ve just finished a strenuous set; your legs are shaky, and now you have to navigate this heavy bar back into a narrow space.
It’s not the best time to test your balancing skills.
Safety Precautions
Avoid turning your squatting session into an episode of “Gym Fails” by following these safety tips:
- The Importance of Safeties – Always, and I can’t stress this enough, utilize the safeties or spotter arms that come with most modern squat racks. These aren’t just fancy additions; they’re lifesavers designed to catch the bar if a lift goes south. Considering them optional? Think again. For more on this and other non-negotiables of gym safety, take a peek at our garage gym essentials
- Double-Check Your Setup – Before diving into that set, ensure everything’s set up right. Is the bar evenly loaded? Are the hooks at your preferred height? Safeties adjusted right? A quick once-over can prevent a lot of potential mishaps.
- Know Your Limits – Ambition in the gym is commendable, but don’t let it cloud judgment. If you’re eyeing a weight that’s nearing your max, ensure you have a spotter. If not, those safety bars better be in the perfect position to step in if needed. Always remember: safety first.
Conclusion
We’ve dissected the squat rack from every angle, laid bare the significance of direction, and underscored the might of those j-hooks.
At the end of the day, it’s more than just iron and steel—it’s your ticket to squatting supremacy.
Use it wisely, and you’re not just lifting weights; you’re elevating your entire game. Stay safe and keep crushing it!
Until next time,
-Dante
Related Content:
Hungry for more knowledge? I’ve got you: